
Images are one of the most important parts of a modern website. They help communicate your brand, showcase products, and make your pages more engaging.
However, large and unoptimized images can also become one of the biggest reasons a website loads slowly.
A high-resolution photo that is several megabytes in size may look great on a computer, but loading multiple large images can quickly increase page size and make visitors wait.
Fortunately, you don’t need to sacrifice image quality to improve website performance.
There are many tools available that can compress, resize, and optimize images before uploading them to your website.
In this guide, we’ll look at some useful image optimization tools and explain how you can use them to make your website faster.
Why Image Size Matters
When someone visits a webpage, their browser needs to download the resources required to display it.
Large images require more data to download.
For example, imagine a webpage containing five images that are each around 3 MB.
That’s approximately 15 MB of images alone before considering HTML, CSS, JavaScript, fonts, videos, and other resources.
Compare that with five properly optimized images that are around 300 KB each.
That’s only 1.5 MB.
Reducing image file sizes can therefore significantly reduce the amount of data a visitor needs to download.
This can be especially important for visitors using mobile devices or slower internet connections.
What Is Image Compression?
Image compression reduces the amount of data stored in an image file while attempting to preserve as much visual quality as possible.
There are two common types of compression:
Lossy Compression
Lossy compression removes some image data to achieve a much smaller file size.
The difference may be difficult or impossible to notice at reasonable compression levels.
JPEG is a common example of a format that can use lossy compression.
Lossless Compression
Lossless compression reduces file size without permanently removing image information.
The resulting file is generally larger than an aggressively compressed lossy image, but the original image quality can be preserved.
The best choice depends on the type of image and how it will be used.
Best Tools for Compressing Website Images
1. TinyPNG
TinyPNG is one of the easiest tools for quickly compressing images.
You can upload your images through the website, allow the tool to compress them, and then download the optimized versions.
TinyPNG supports popular image formats and is particularly useful when you need to quickly optimize a handful of images without installing software.
Best for:
- Beginners
- Quick image compression
- Website images
- PNG and JPEG files
- Simple workflows
If you need a fast and straightforward solution, TinyPNG is a great place to start.
2. Squoosh
Squoosh is a browser-based image compression tool that provides more control over how an image is optimized.
One of its biggest advantages is that you can compare the original image with the compressed version while adjusting settings.
This makes it useful when you want to find the right balance between file size and visual quality.
Best for:
- Developers
- Web designers
- More advanced compression
- Comparing image quality
- Converting image formats
Squoosh is particularly useful when you’re trying to optimize an image as much as possible without making it visibly worse.
3. ImageOptim
ImageOptim is a desktop image optimization tool designed to reduce file sizes while maintaining image quality.
Instead of uploading images to an online service, you can process images directly on your computer.
This can be useful if you’re working with a large collection of images.
Best for:
- Designers
- Developers
- Batch optimization
- Desktop workflows
- Mac users
4. Adobe Photoshop
If you already use Photoshop for editing images, you can optimize images before exporting them for your website.
Instead of exporting a massive original image, you can resize it to the dimensions you actually need and then adjust the quality during export.
For example, if your website only displays an image at 1200 pixels wide, there may be little reason to upload a 5000-pixel-wide original.
Best for:
- Professional designers
- Image editing
- Resizing and compression
- Preparing images before website upload
The key is to optimize the image before it reaches your website.
5. Canva
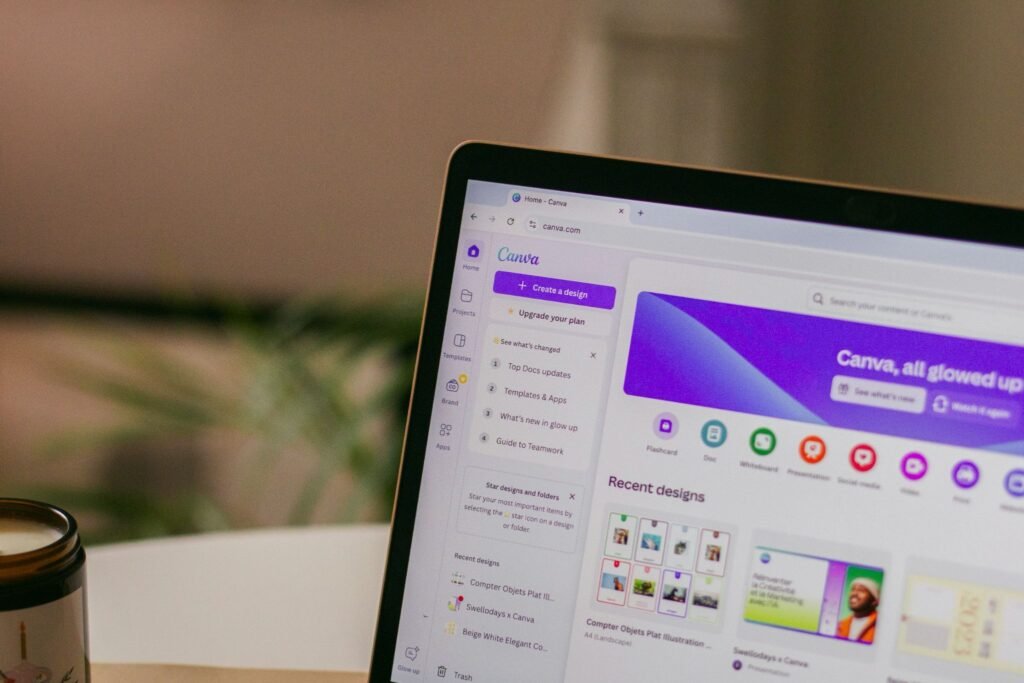
Canva is primarily a design tool, but it can also be useful for preparing website graphics.
You can create graphics at appropriate dimensions and export them in web-friendly formats.
This is particularly useful for:
- Blog graphics
- Social media images
- Website banners
- Promotional graphics
- Simple illustrations
However, remember that the dimensions and export settings still matter. Creating a graphic at an unnecessarily large resolution can result in a larger file than your website needs.
Don’t Just Compress—Resize Your Images
One of the biggest mistakes people make is focusing only on compression.
Image dimensions matter too.
Imagine you have a photograph that is:
6000 × 4000 pixels
but your website only displays it at:
1200 × 800 pixels
There is little benefit to sending the browser the enormous original image.
Resizing the image before uploading it can dramatically reduce the amount of data required.
As a general rule:
Don’t upload an image that is significantly larger than the size at which it will actually be displayed.
The exact dimensions you should use depend on your website layout and the device sizes you’re targeting.
Choose the Right Image Format
Compression isn’t the only factor affecting image size.
The format you use also matters.
JPEG
JPEG is widely used for photographs and other images with many colors.
It can provide relatively small file sizes while maintaining good visual quality.
PNG
PNG is useful when you need transparency or when an image requires lossless compression.
However, PNG files can become significantly larger than modern alternatives for certain types of images.
WebP
WebP was developed specifically with web performance in mind and can often provide smaller files than older formats while maintaining good visual quality.
It’s now widely supported by modern browsers and is a popular choice for websites.
AVIF
AVIF is another modern image format that can provide highly efficient compression.
It can produce very small files while maintaining good visual quality, although workflow and browser support considerations may vary depending on your website setup.
For many modern websites, WebP and AVIF are worth considering alongside JPEG and PNG.
Image Optimization for WordPress Websites
If you’re using WordPress, you can also use image optimization plugins to automate part of the process.
Depending on the plugin, features may include:
- Automatic compression
- WebP conversion
- Image resizing
- Lazy loading
- Bulk optimization
- Automatic optimization when uploading images
This can be particularly useful for websites where multiple people regularly upload images.
However, automated optimization doesn’t mean you should upload enormous files without thinking about them.
It’s still better to start with a reasonably sized image.
What About Lazy Loading?
Lazy loading is another useful technique for improving image performance.
Instead of loading every image on a webpage immediately, lazy loading allows images that are further down the page to load when they become necessary.
For example, if a page contains 20 images but the visitor can initially see only three of them, there is little reason to immediately load all 20.
Lazy loading can reduce the amount of data loaded when the page first opens.
However, the images still need to be properly compressed and sized.
Lazy loading is not a replacement for image optimization.
It’s another optimization technique that can work alongside it.
How Small Should a Website Image Be?
There isn’t one universal file-size limit that works for every image.
A large hero image may reasonably be larger than a small thumbnail.
However, the general goal should be:
Use the smallest file size that still provides the visual quality you need.
As a starting point, many website images can often be optimized to a few hundred kilobytes rather than several megabytes.
For example:
Original: 3.5 MB
Optimized: 450 KB
That’s a reduction of more than 85% while potentially maintaining visually similar quality.
The exact result will depend on the image, dimensions, format, and compression settings.
A Simple Image Optimization Workflow
If you’re preparing images for a website, you can follow this simple process:
Step 1: Choose the Correct Image
Start with the image you actually need. Avoid uploading multiple versions of unnecessarily large originals.
Step 2: Resize It
Determine approximately how large the image will appear on the website and resize it accordingly.
Step 3: Choose the Right Format
Consider JPEG, PNG, WebP, or AVIF depending on the type of image and your website setup.
Step 4: Compress It
Run the image through a compression tool such as TinyPNG or Squoosh.
Step 5: Upload It
Add the optimized image to your website.
Step 6: Test Your Website
After uploading your images, test the website’s loading performance and make sure the images still look good on desktop and mobile devices.
Common Image Optimization Mistakes
Avoid these common mistakes when uploading images to your website.
Uploading Original Camera Photos
Modern smartphones and cameras can produce extremely large images. Uploading these files directly to a website can unnecessarily increase page size.
Using Images That Are Too Large
A 5000-pixel image isn’t necessary if it will only appear at 800 pixels wide.
Ignoring Modern Formats
Using older formats for every image can result in larger files than necessary.
Compressing Too Aggressively
Smaller isn’t always better. Excessive compression can create visible artifacts and make images look poor.
Uploading Every Image Without Testing
Different images compress differently. Always check the final result visually.
Final Thoughts
Image optimization is one of the simplest ways to improve website performance.
You don’t necessarily need expensive software or advanced technical knowledge. Tools such as TinyPNG, Squoosh, ImageOptim, Photoshop, and Canva can help reduce image sizes before they are uploaded to your website.
The key is to combine several good practices:
Resize your images → choose an appropriate format → compress them → use lazy loading where appropriate → test your website.
A few minutes spent optimizing your images can make a significant difference to the performance and user experience of your website.
And remember: a faster website isn’t just better for performance—it creates a better experience for your visitors.
Need a Faster, Better-Performing Website?
At Darkgate Web Designs, we design and develop modern, responsive, and performance-focused websites that help businesses stand out online. From website design and development to speed optimization, we help create seamless user experiences that keep visitors engaged and support your business growth.